How to Build Your First Pedalboard (Beginner Guide)

Learn how to build your first guitar pedalboard with a simple and effective setup. This guide covers pedal choice, signal chain, and tone tips for beginners.

After a while buying random pedals with no real purpose, I decided it was time to finally put a proper pedalboard together and actually have some fun with it. My main goal is just to play blues and occasionally cover songs I enjoy. This setup is not meant for live gigs or playing in a band, so I didn’t overthink my choices too much, just went with what I like.

Pedal selection

Choosing the Pedals

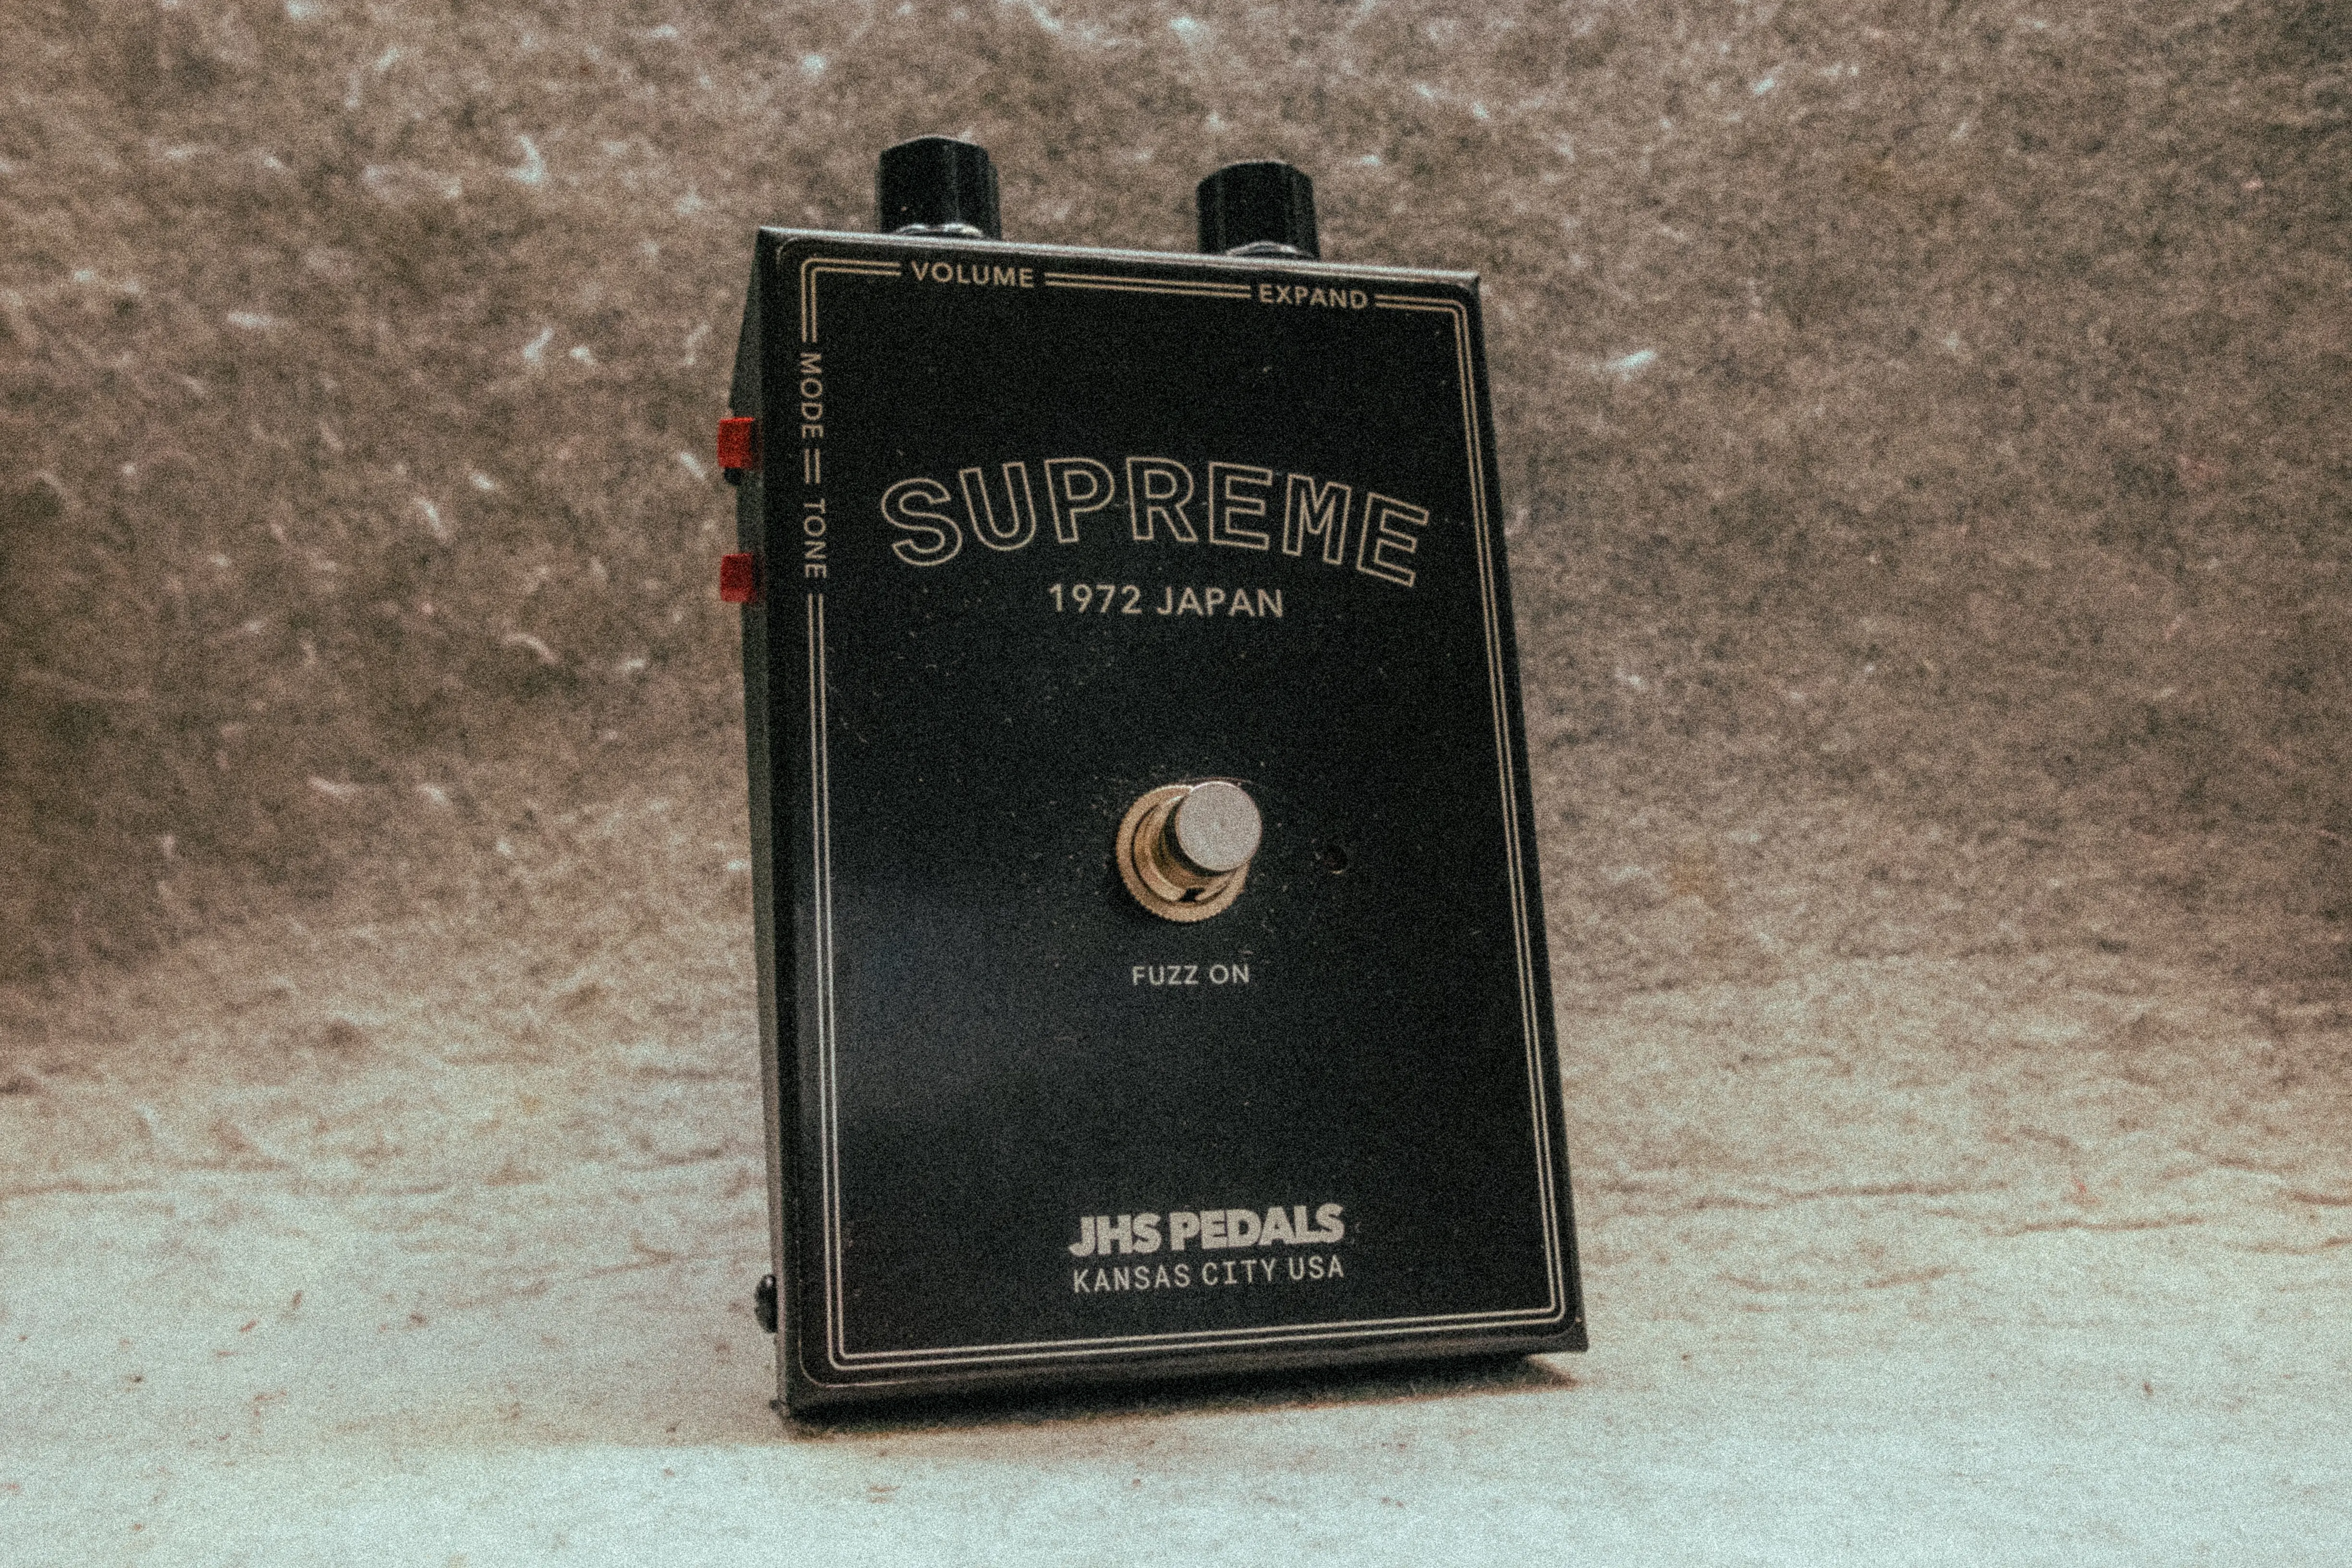
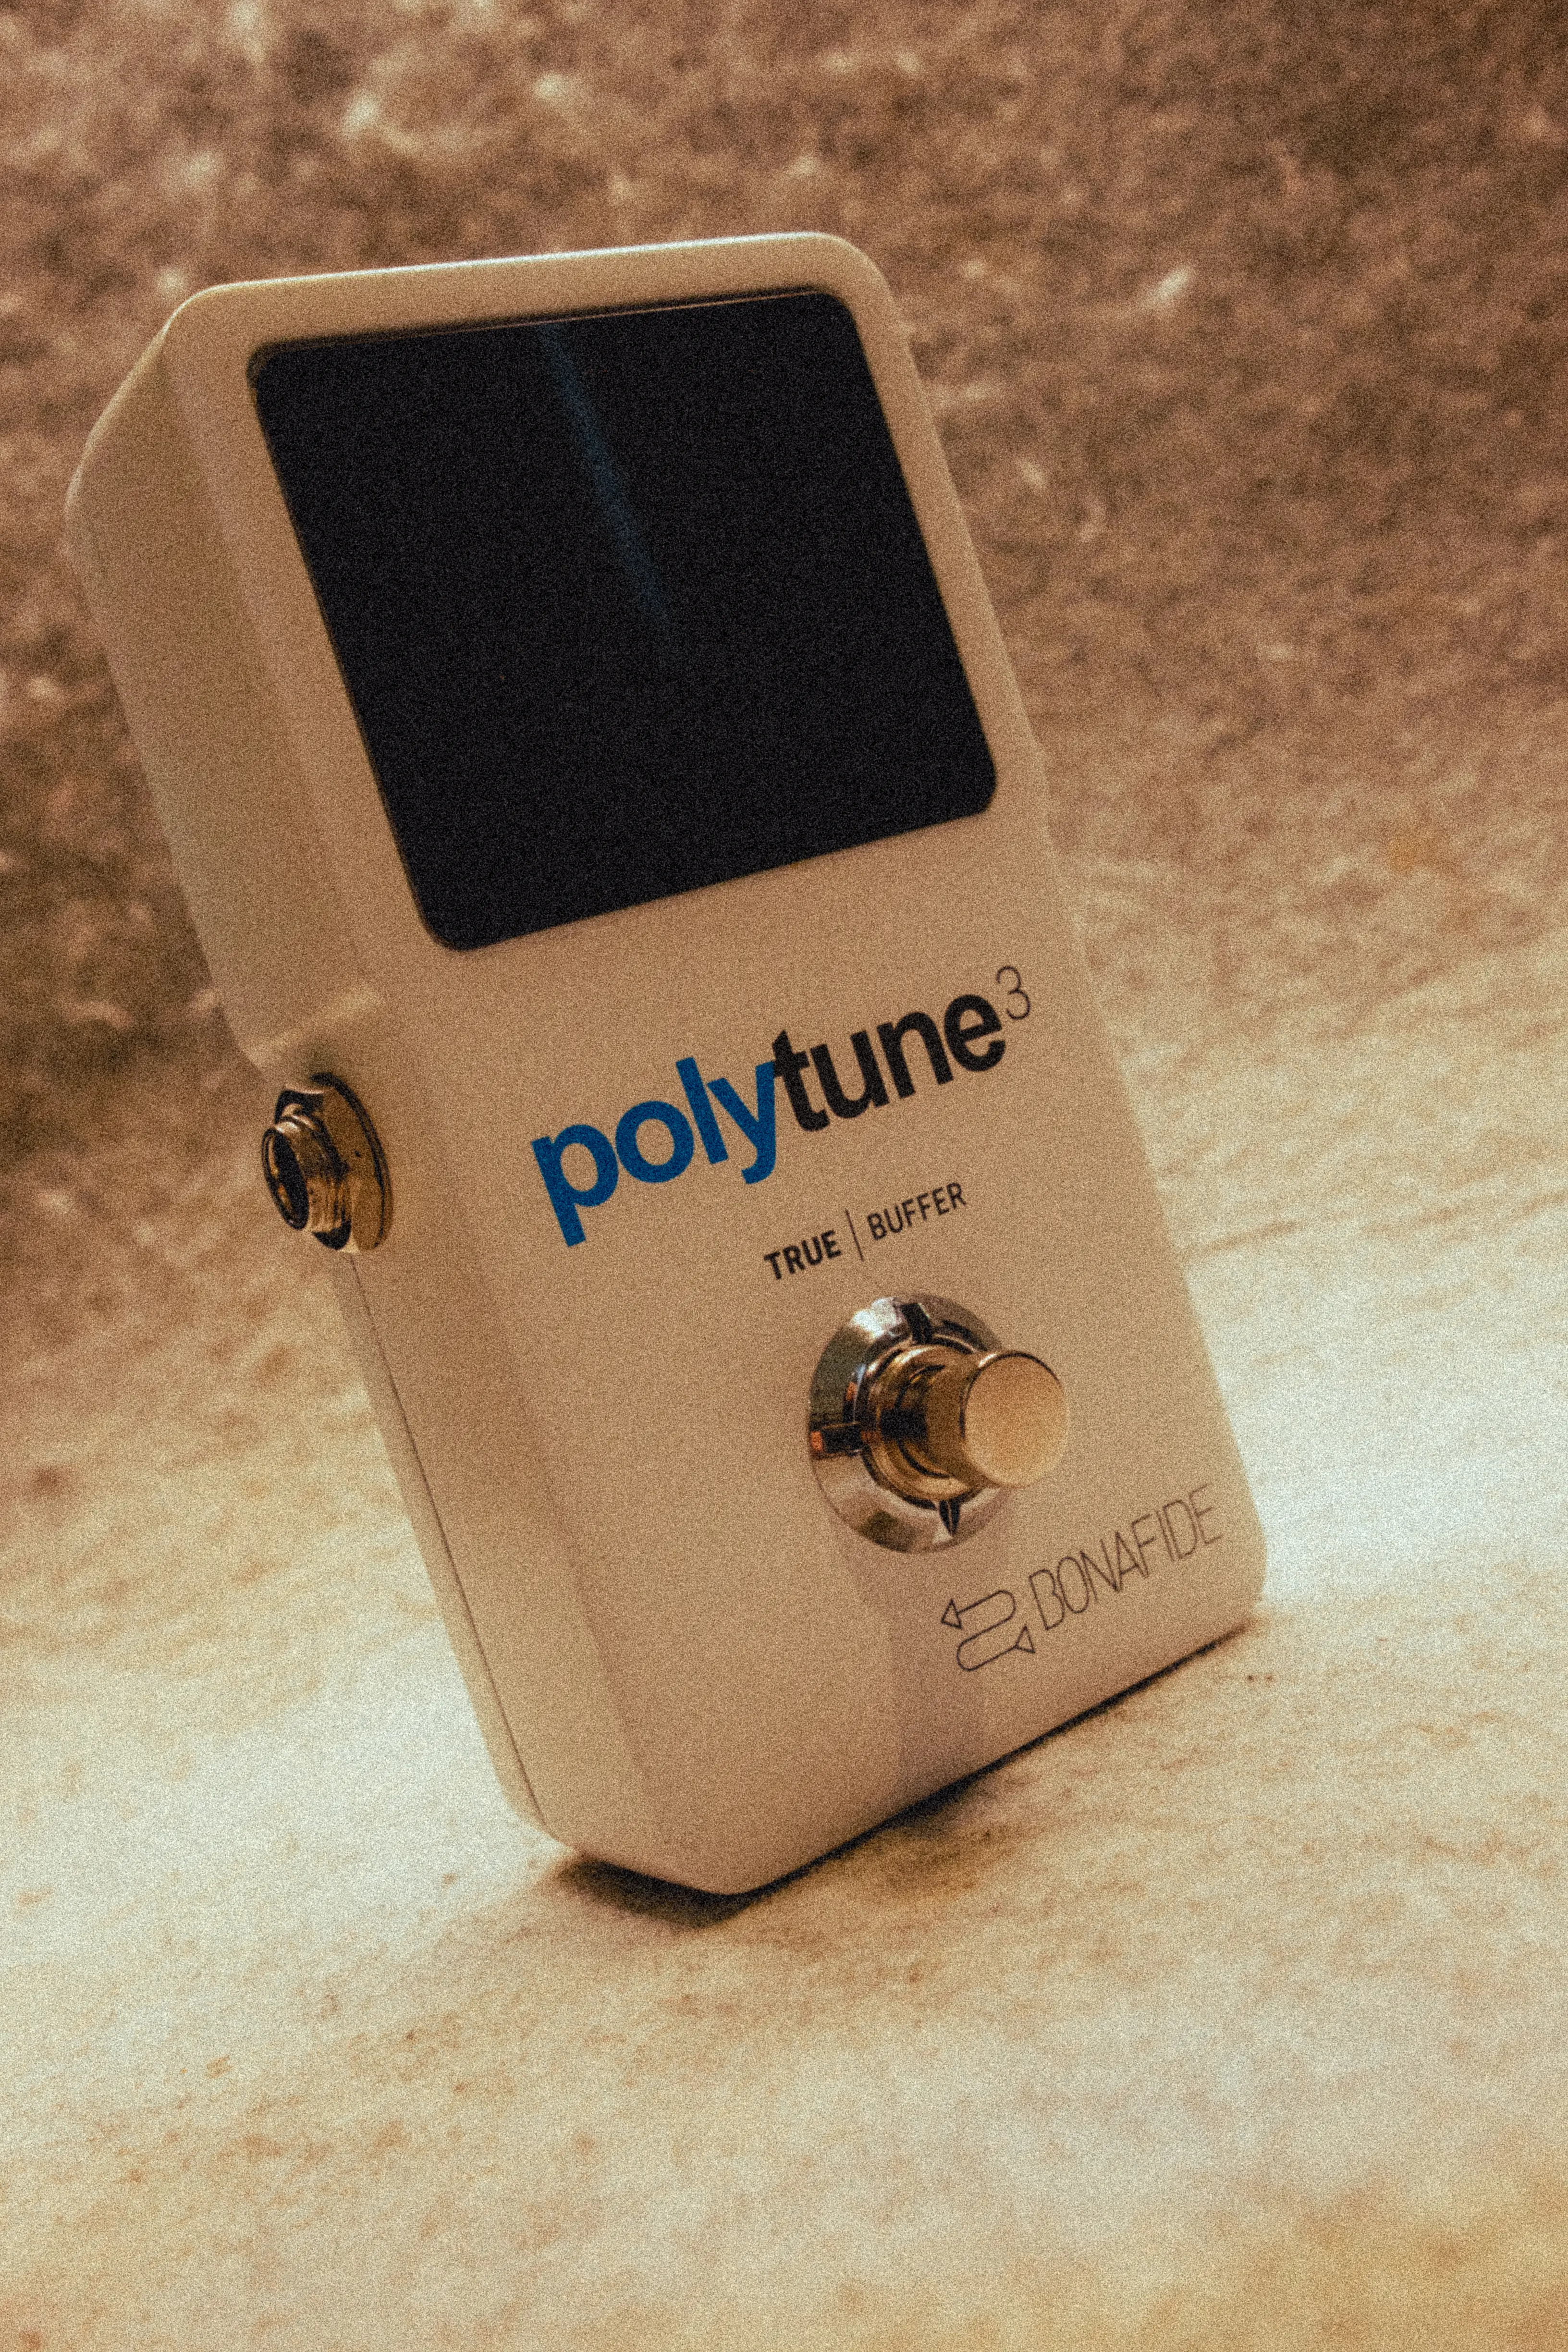
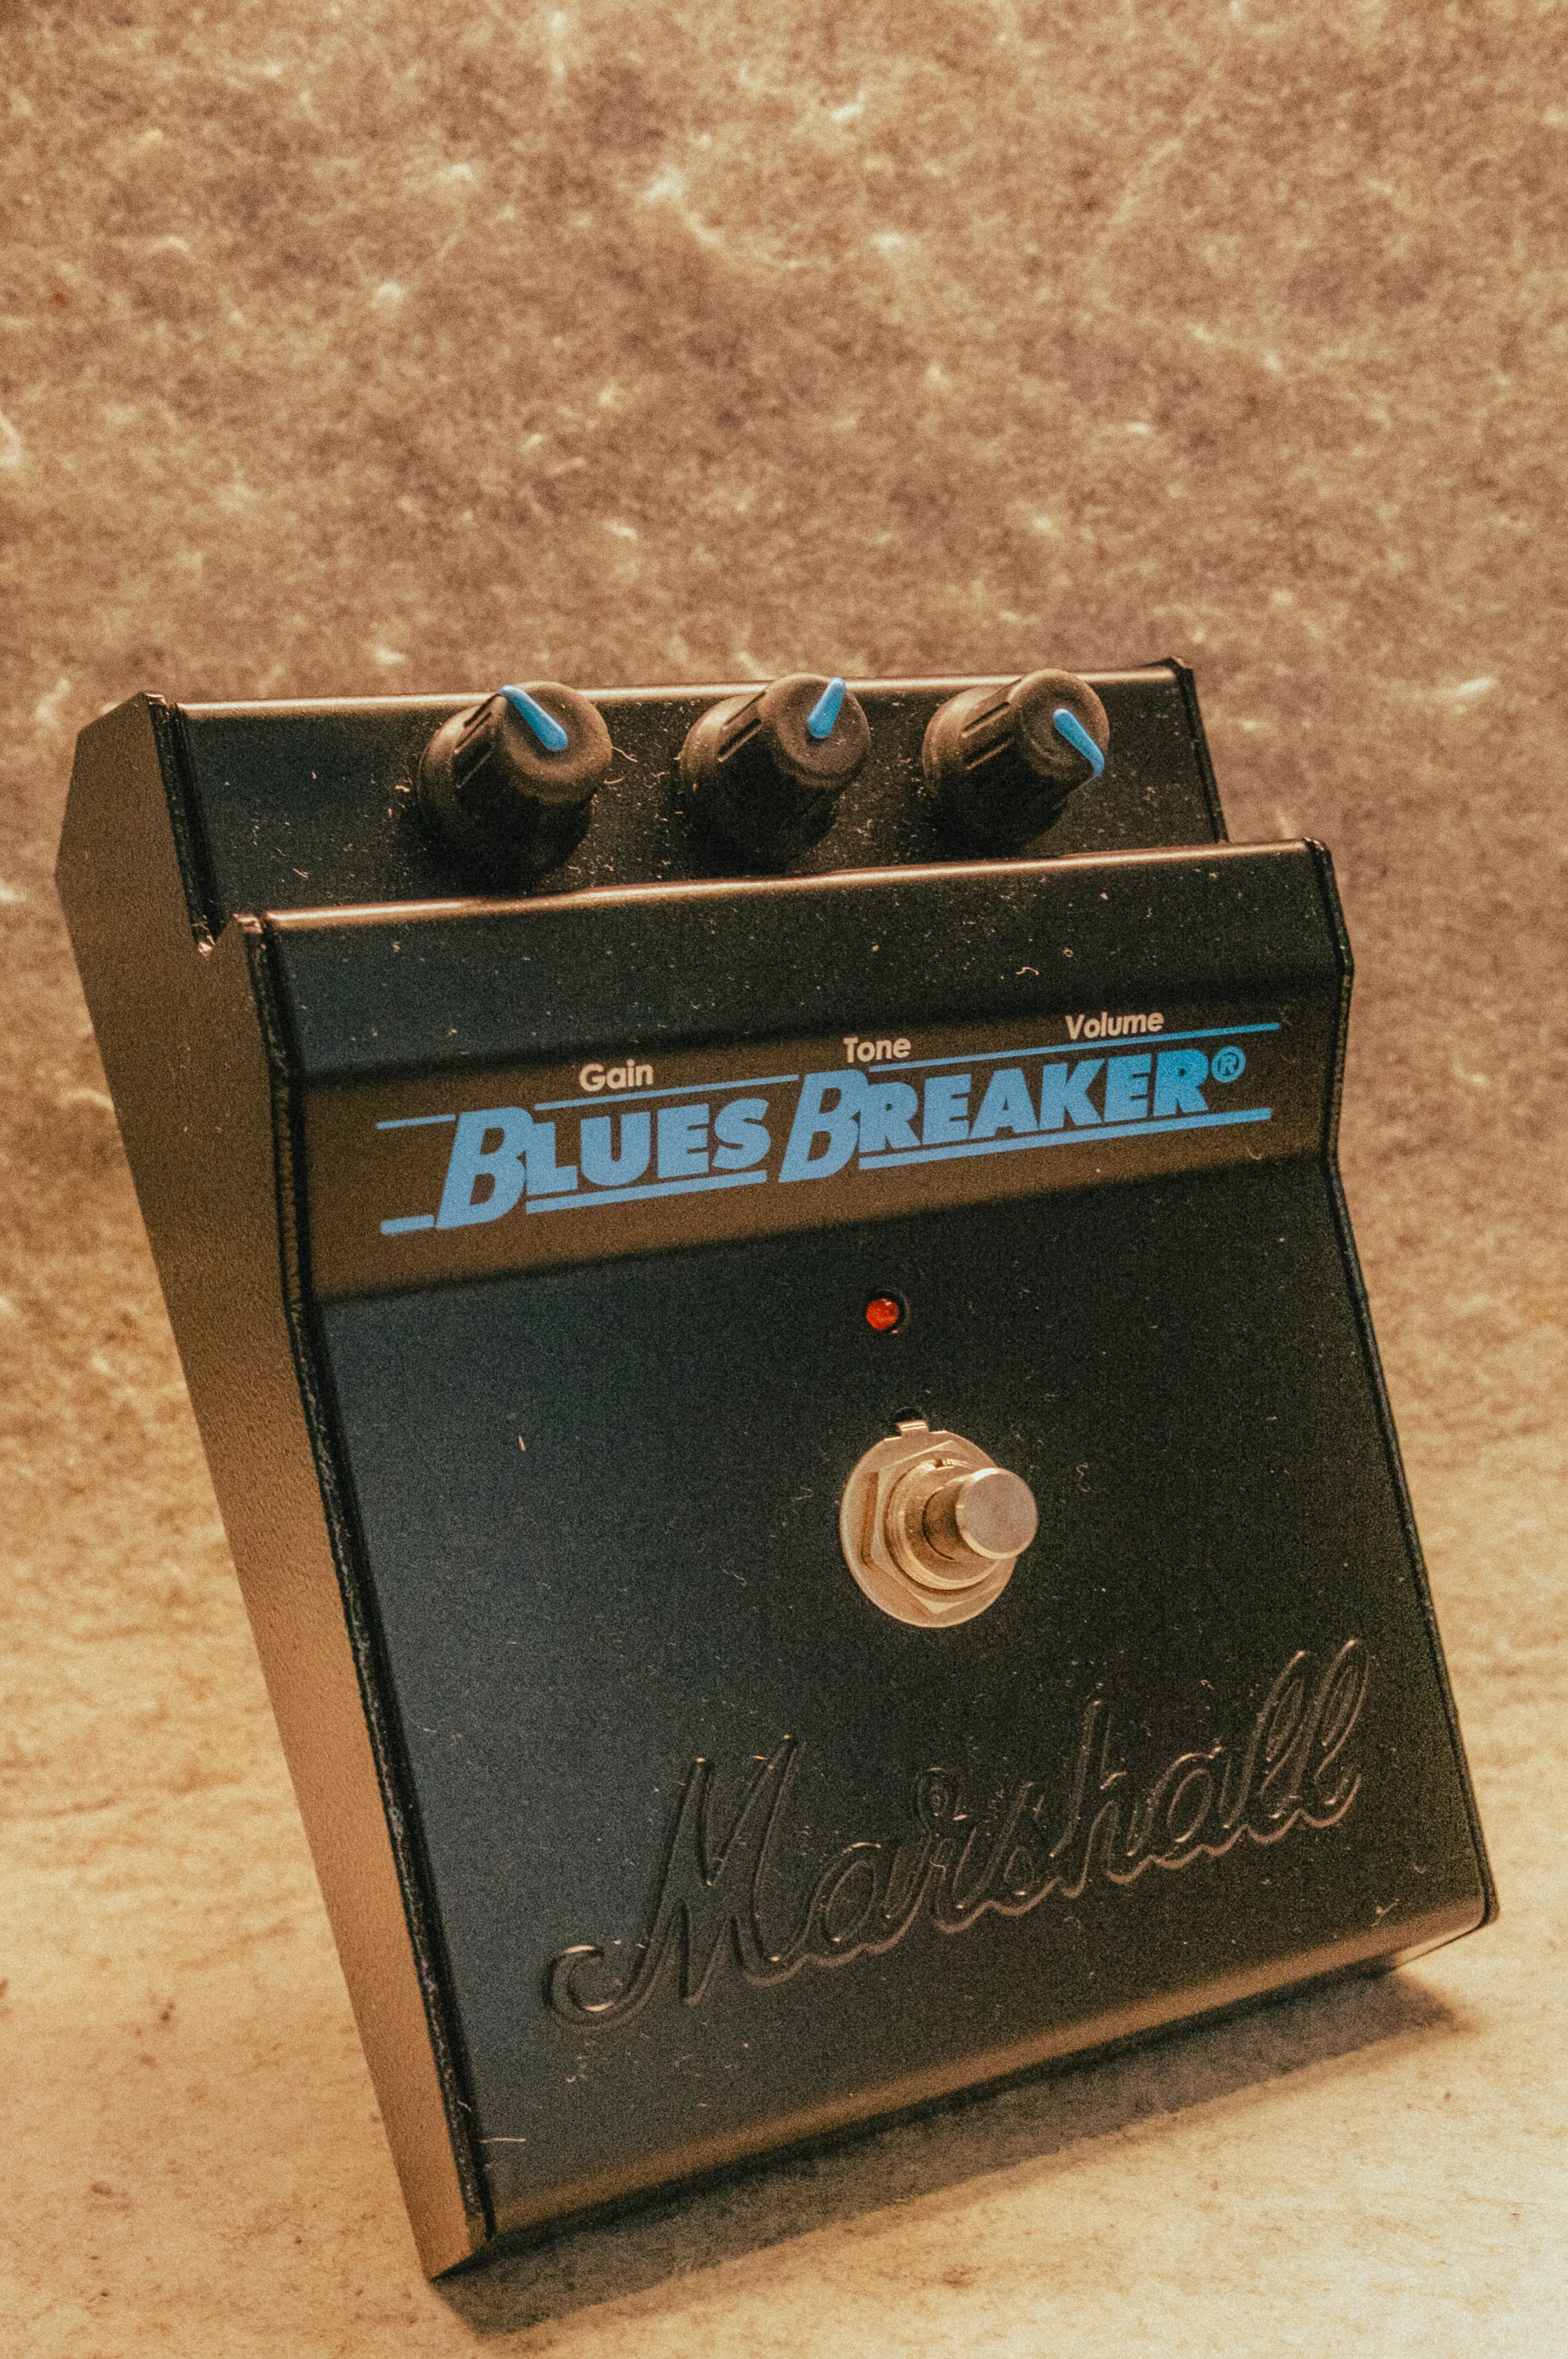
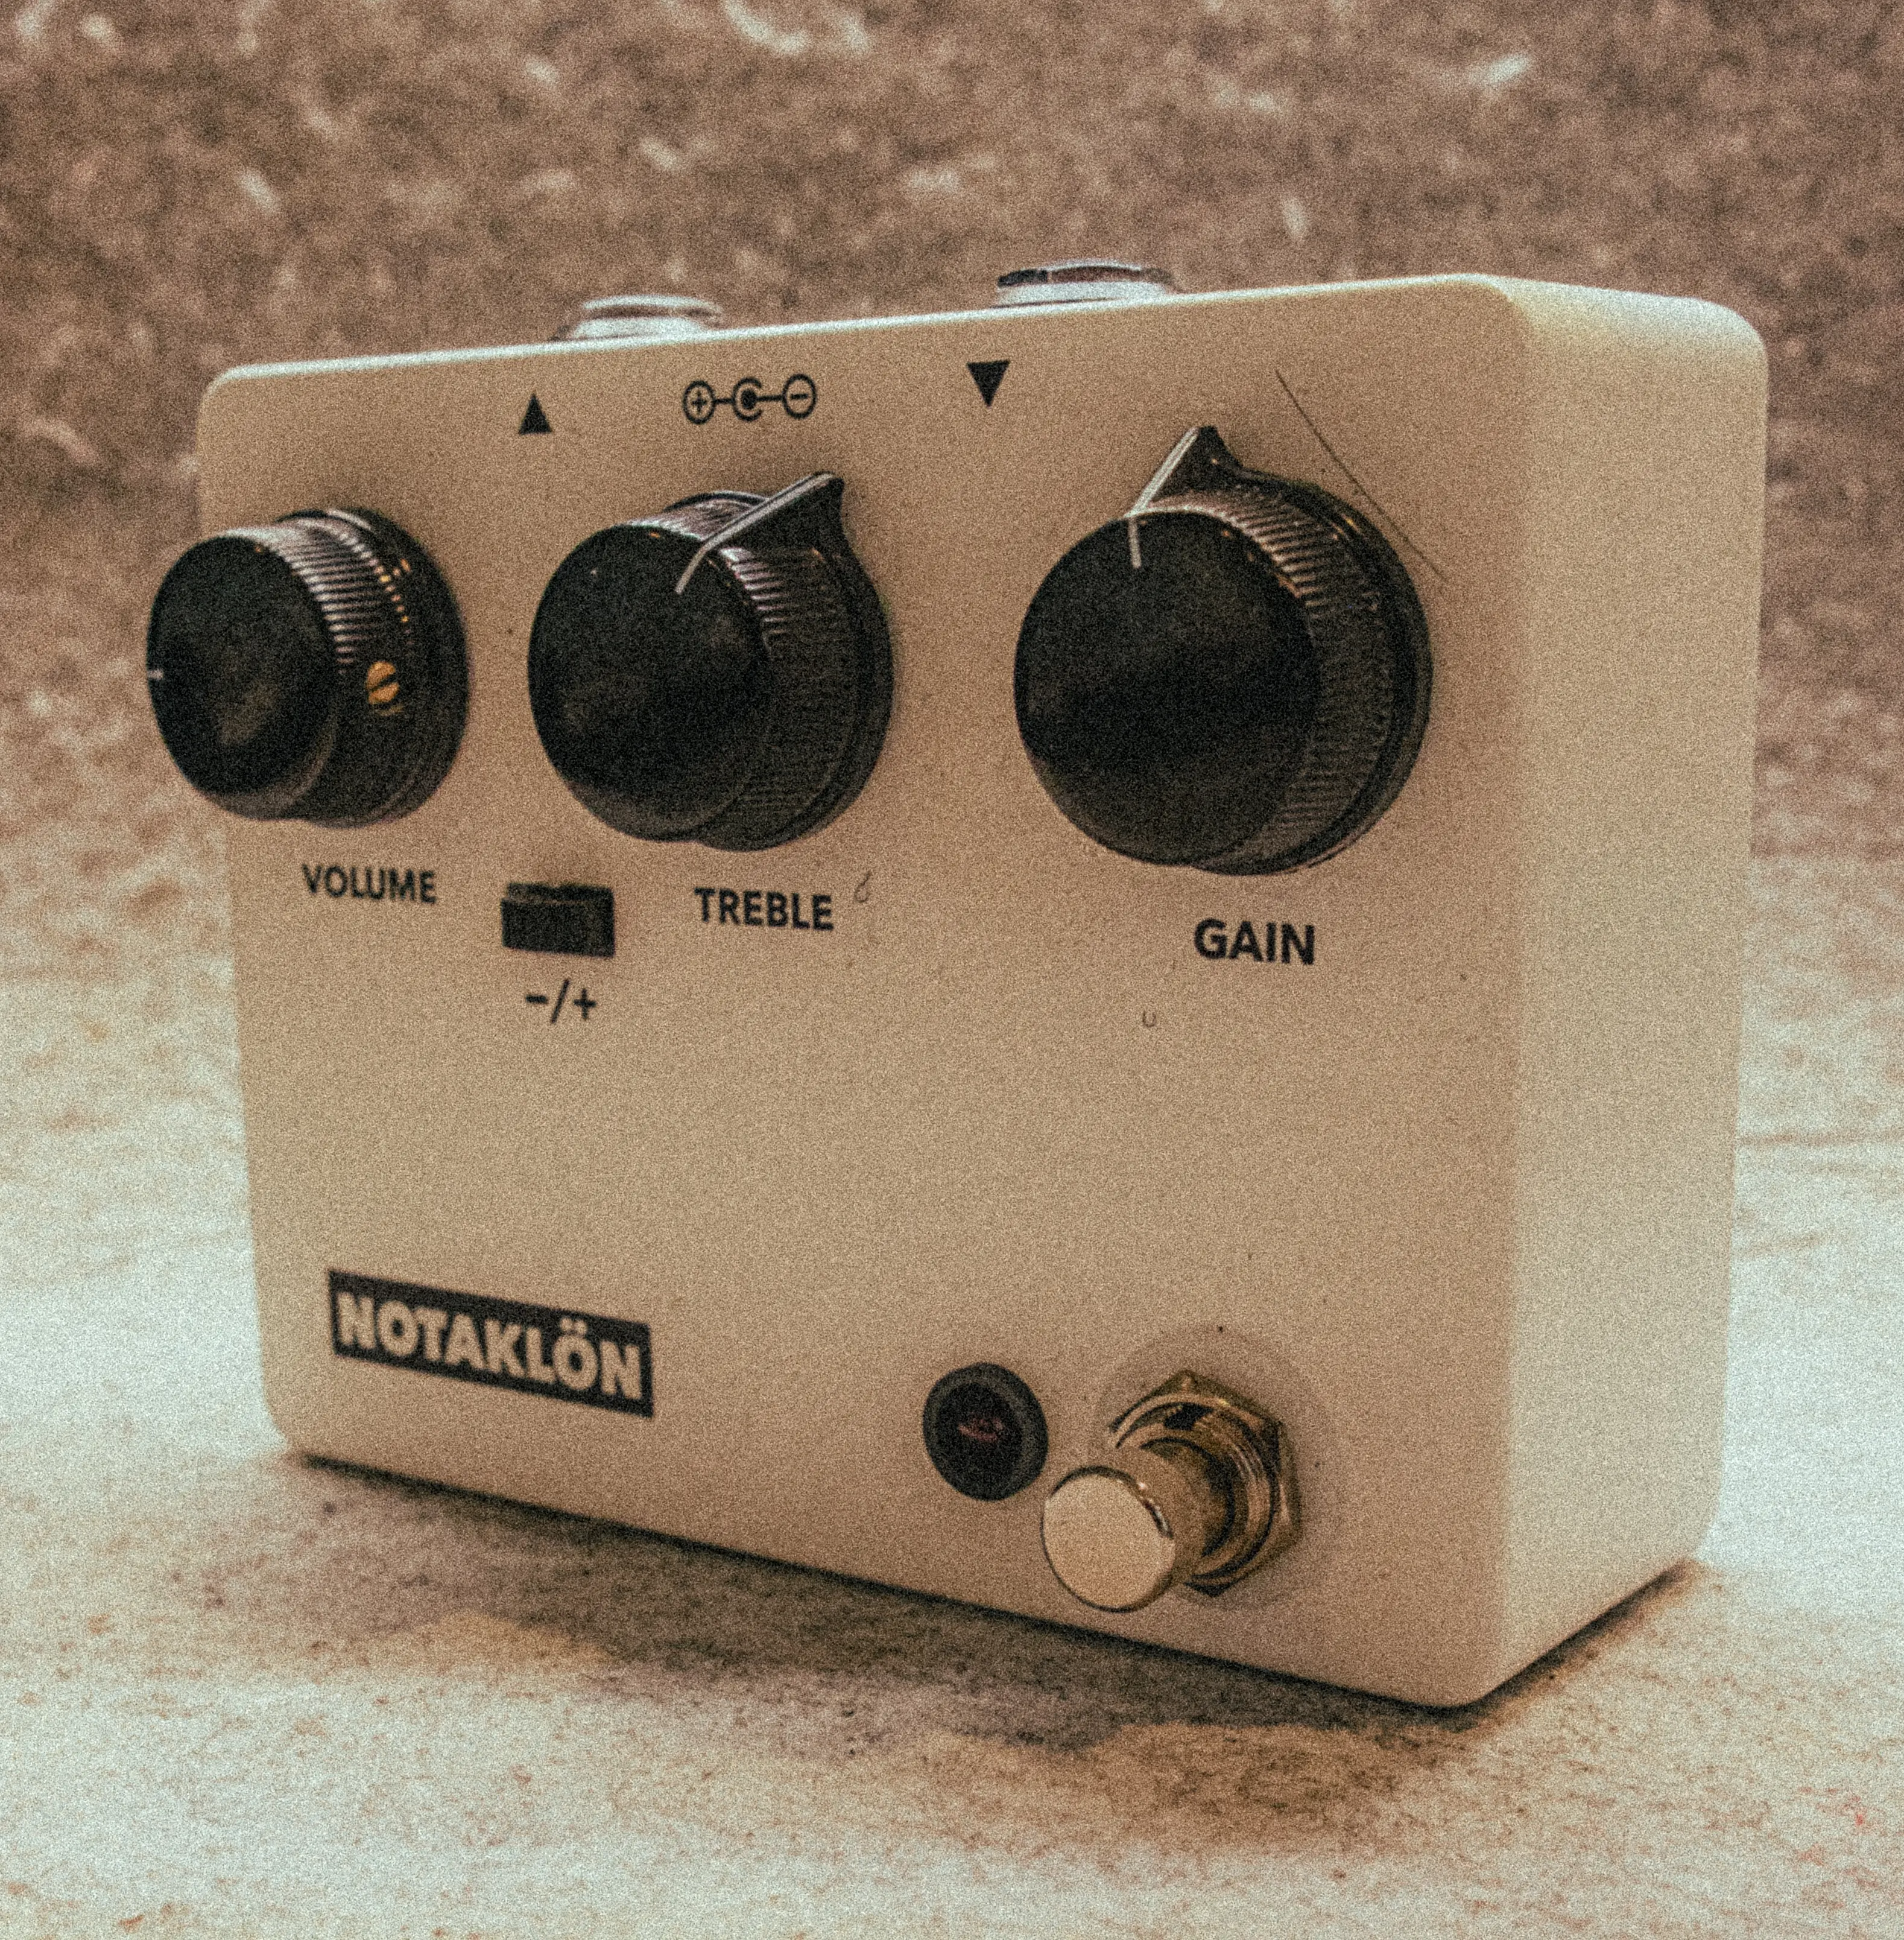
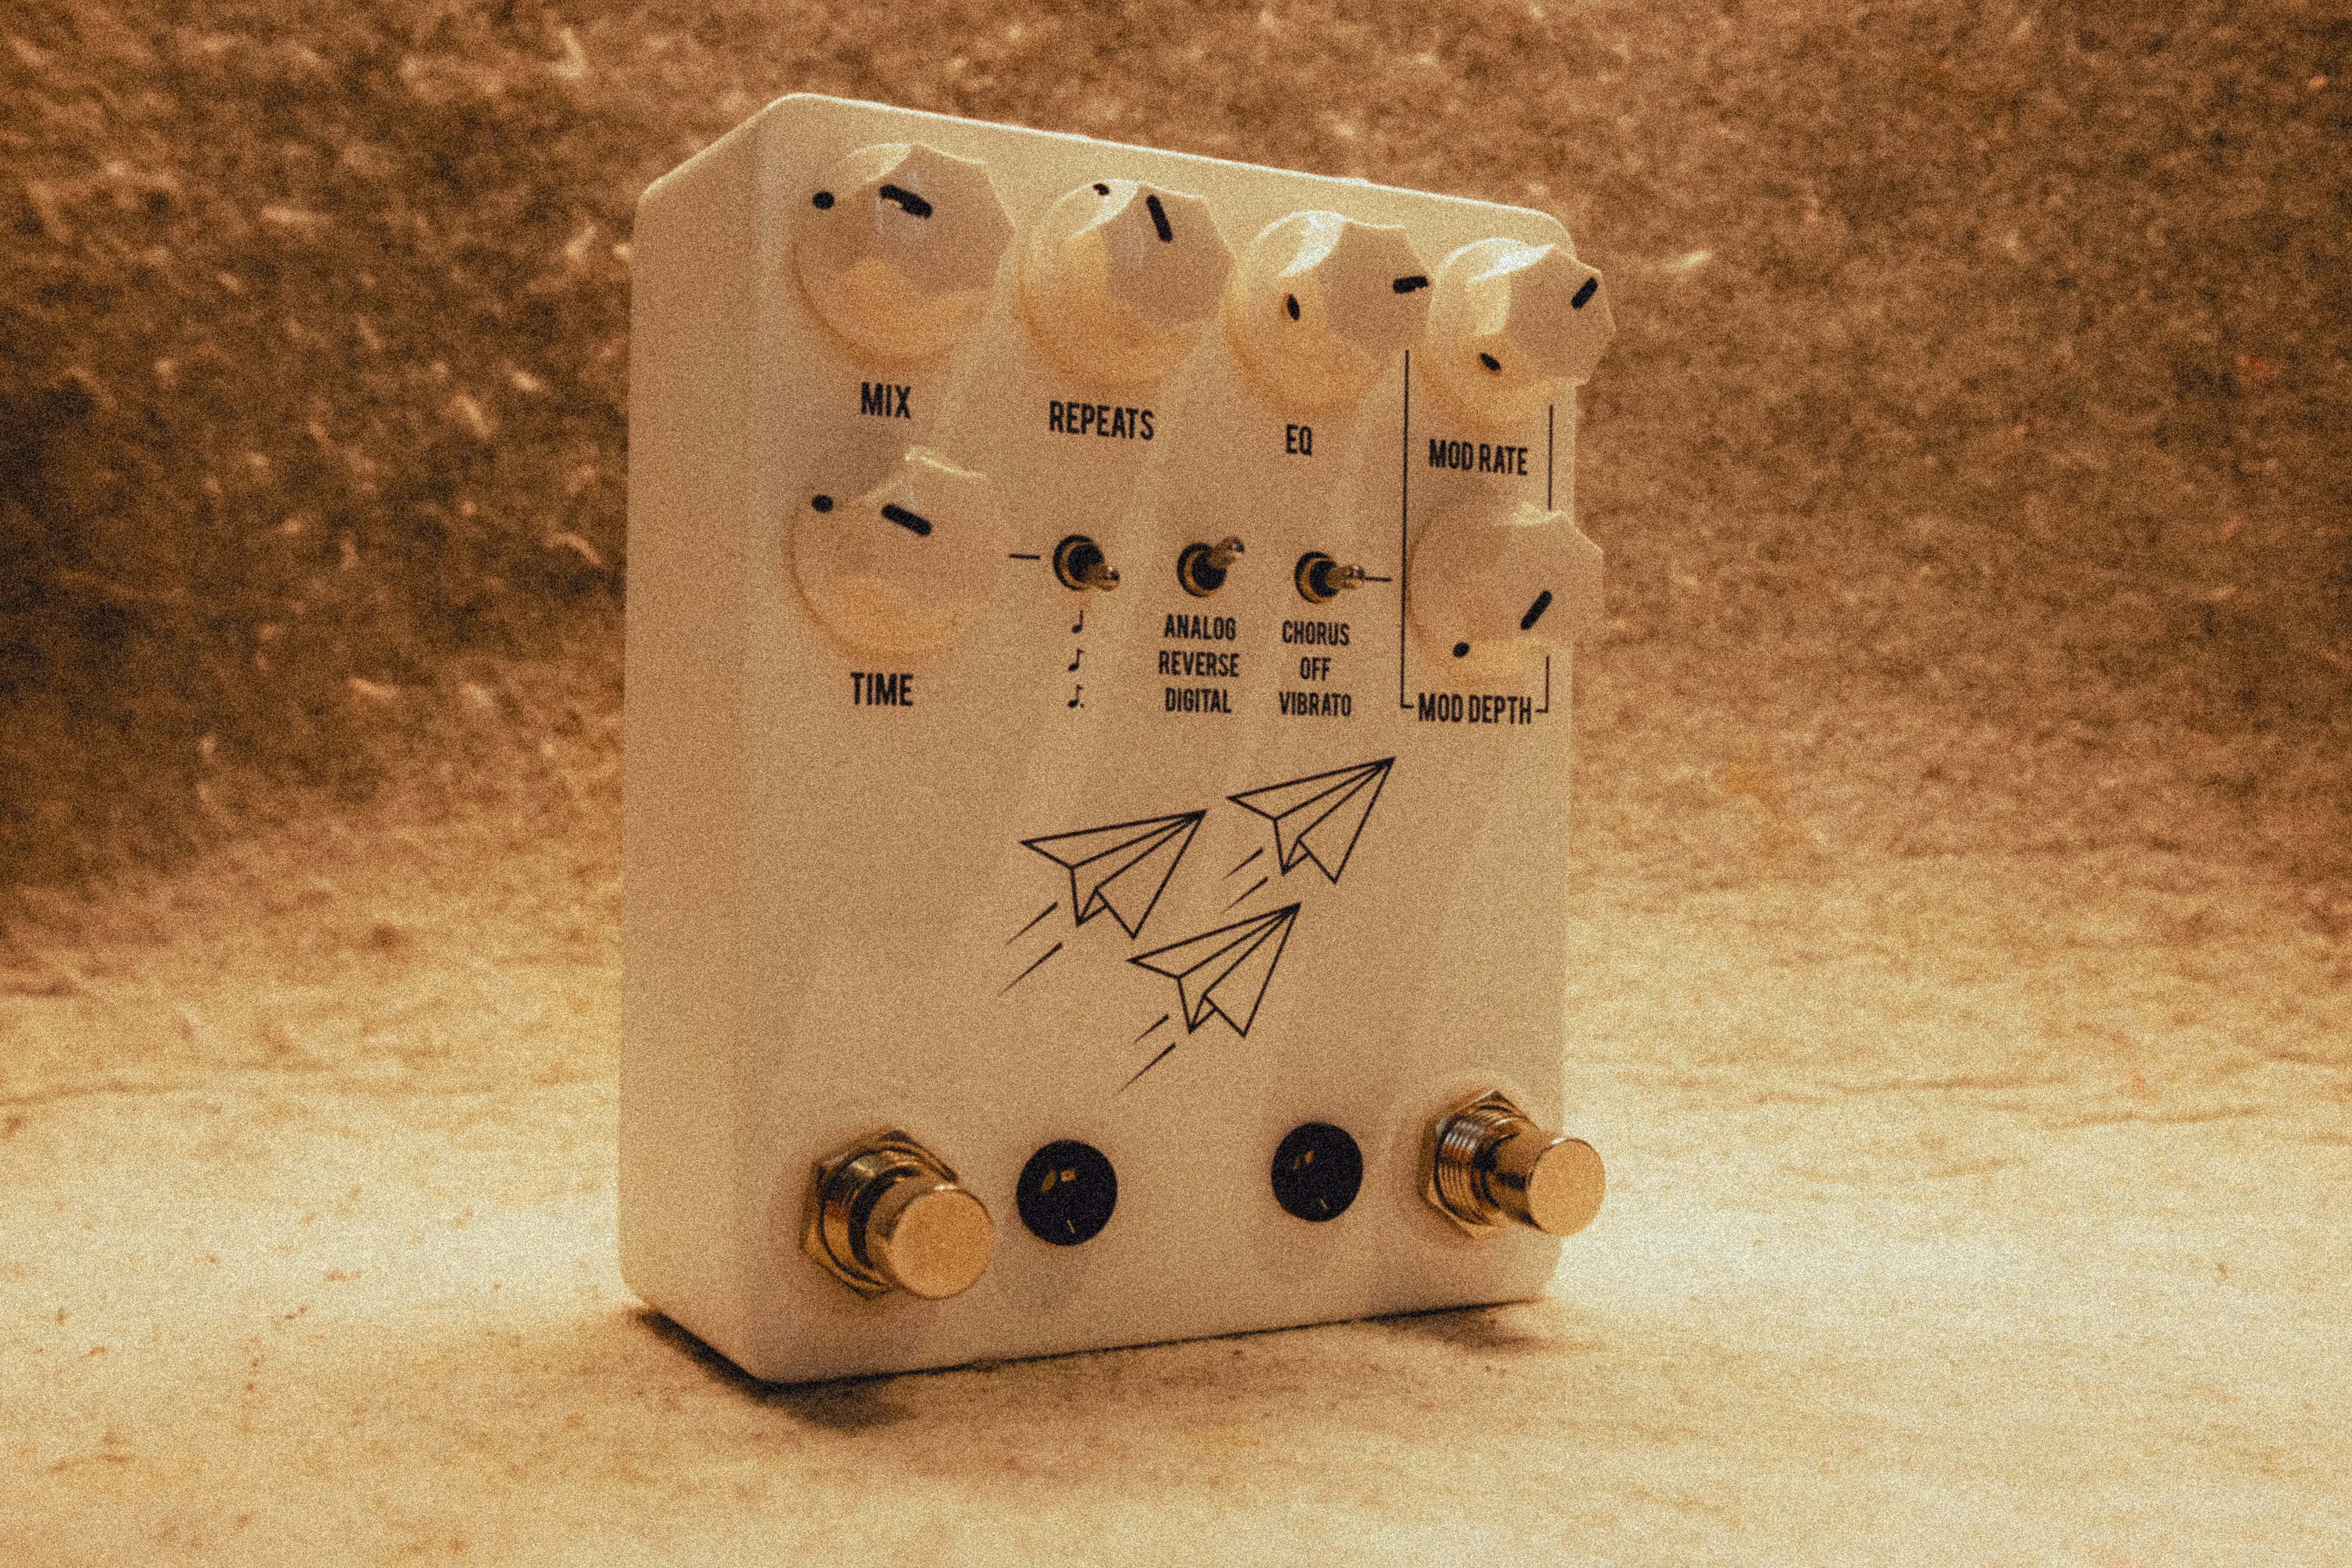
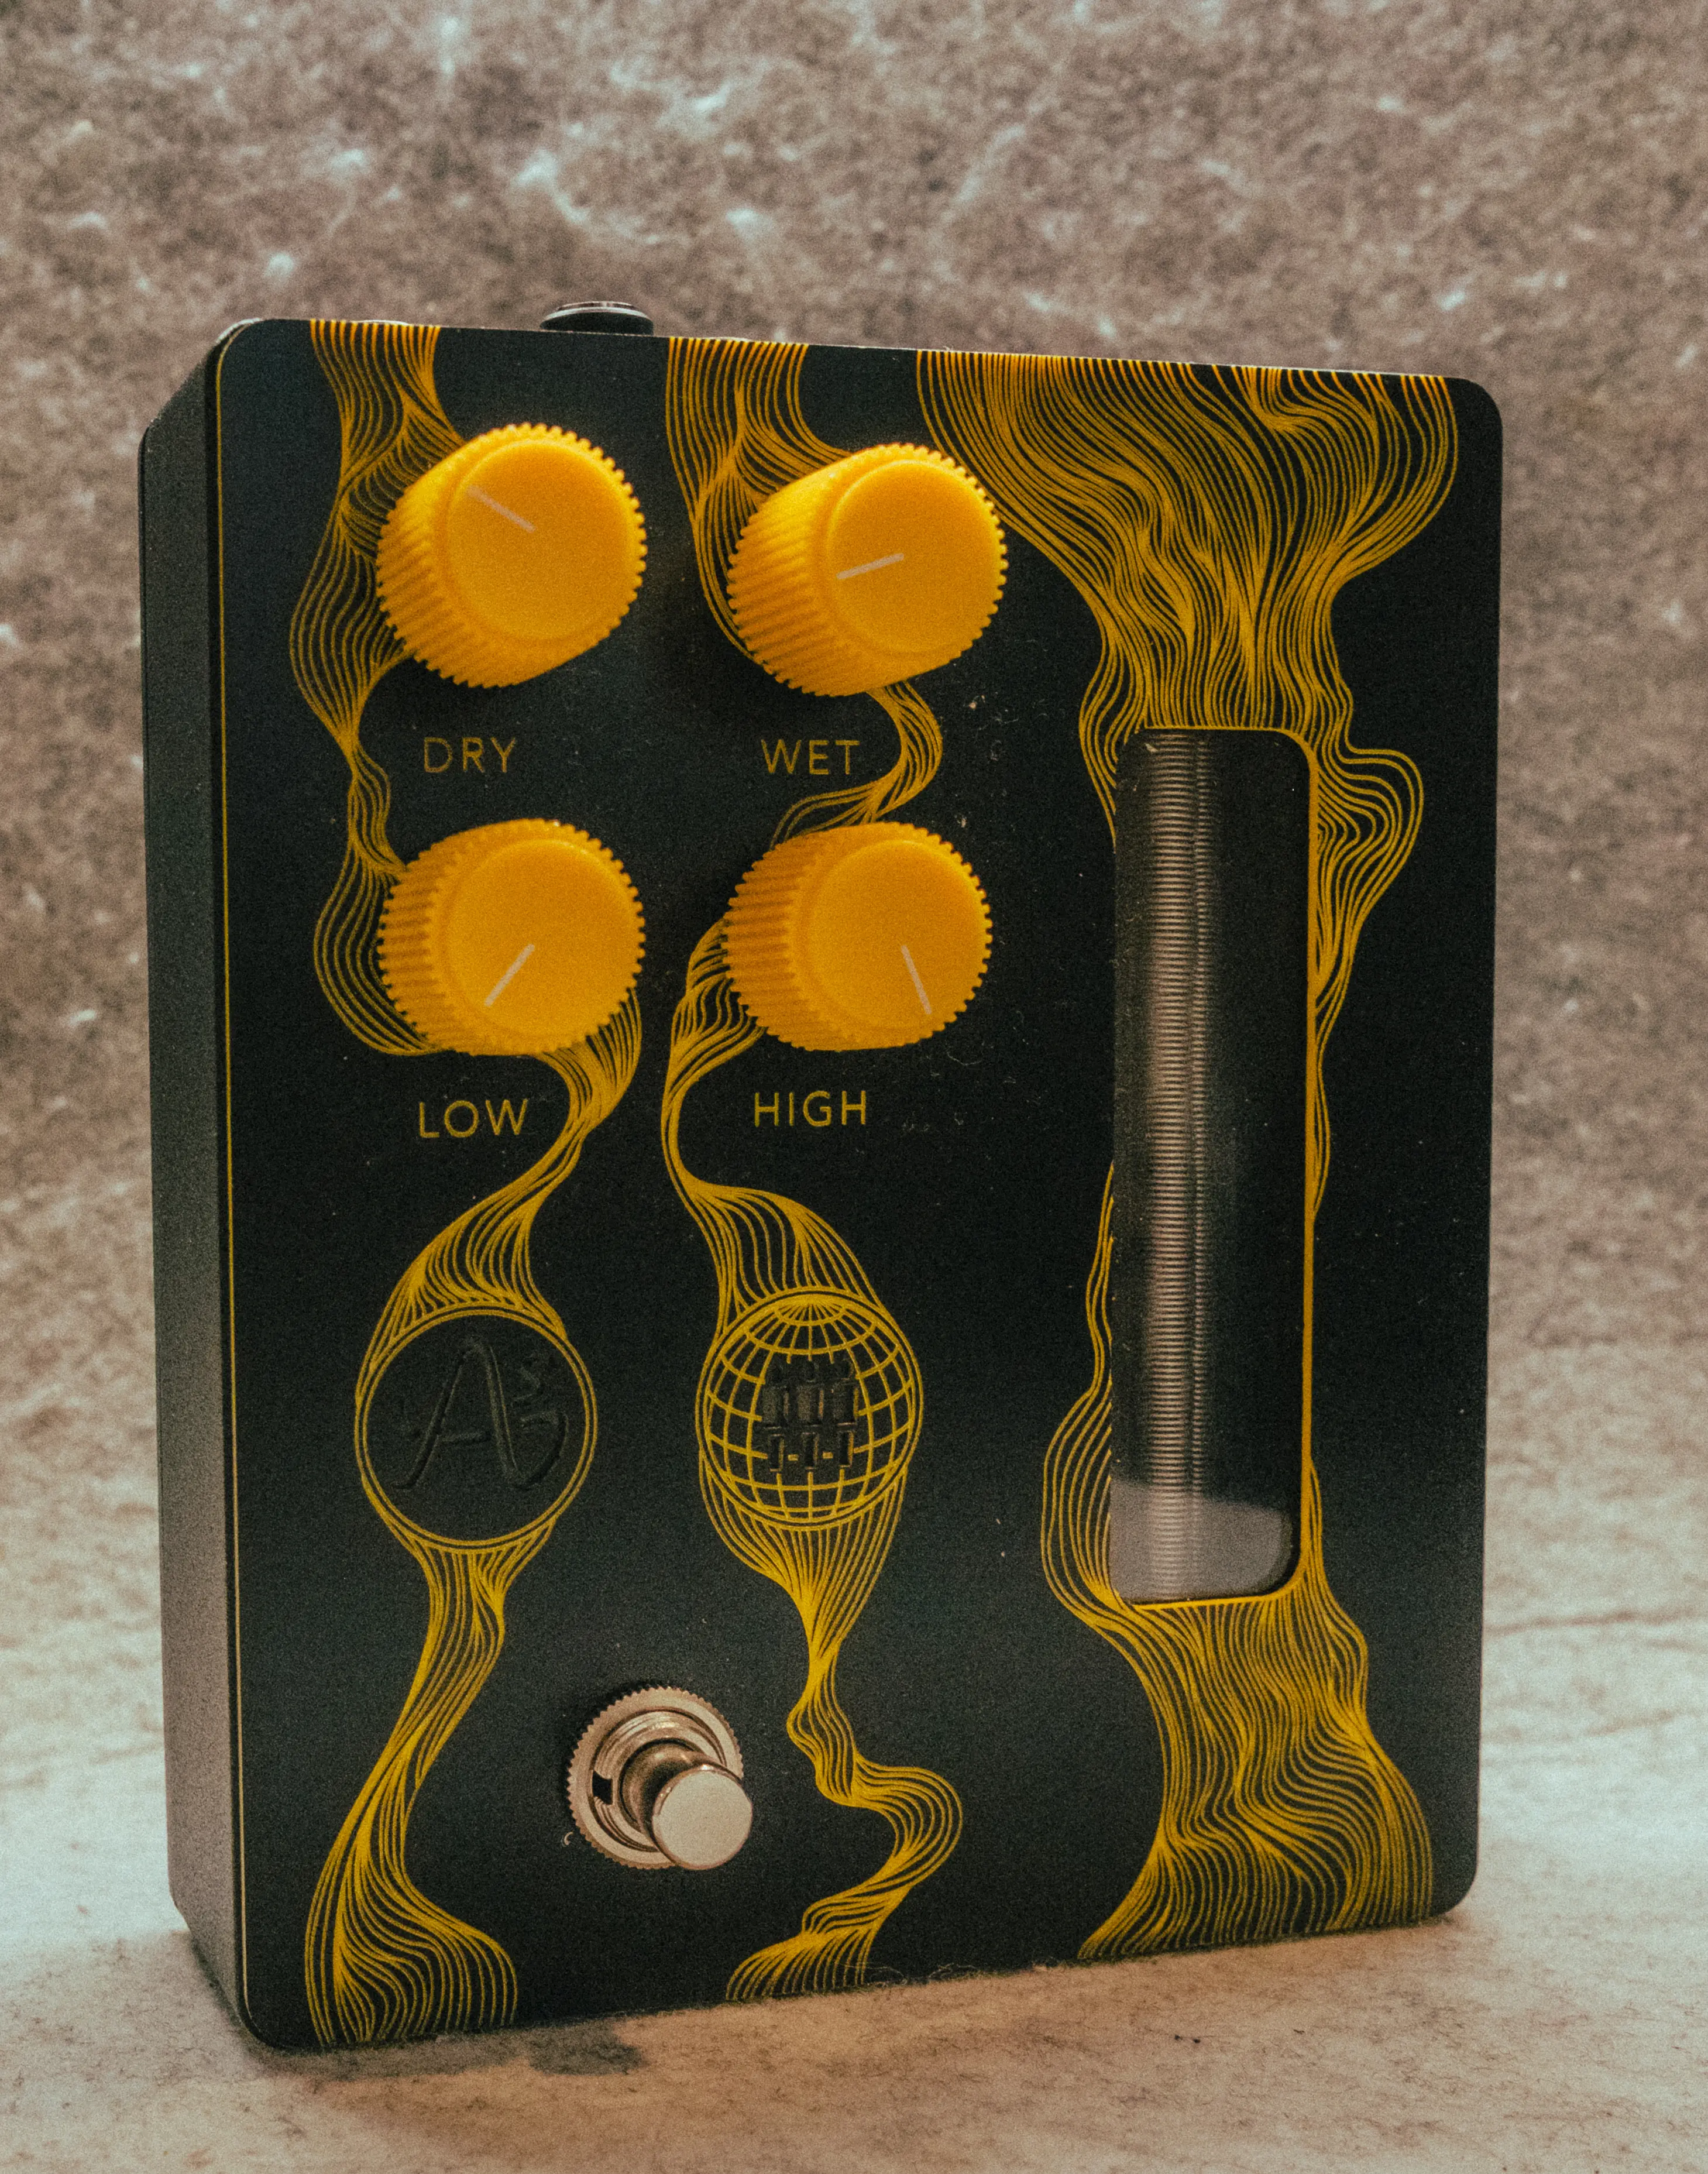
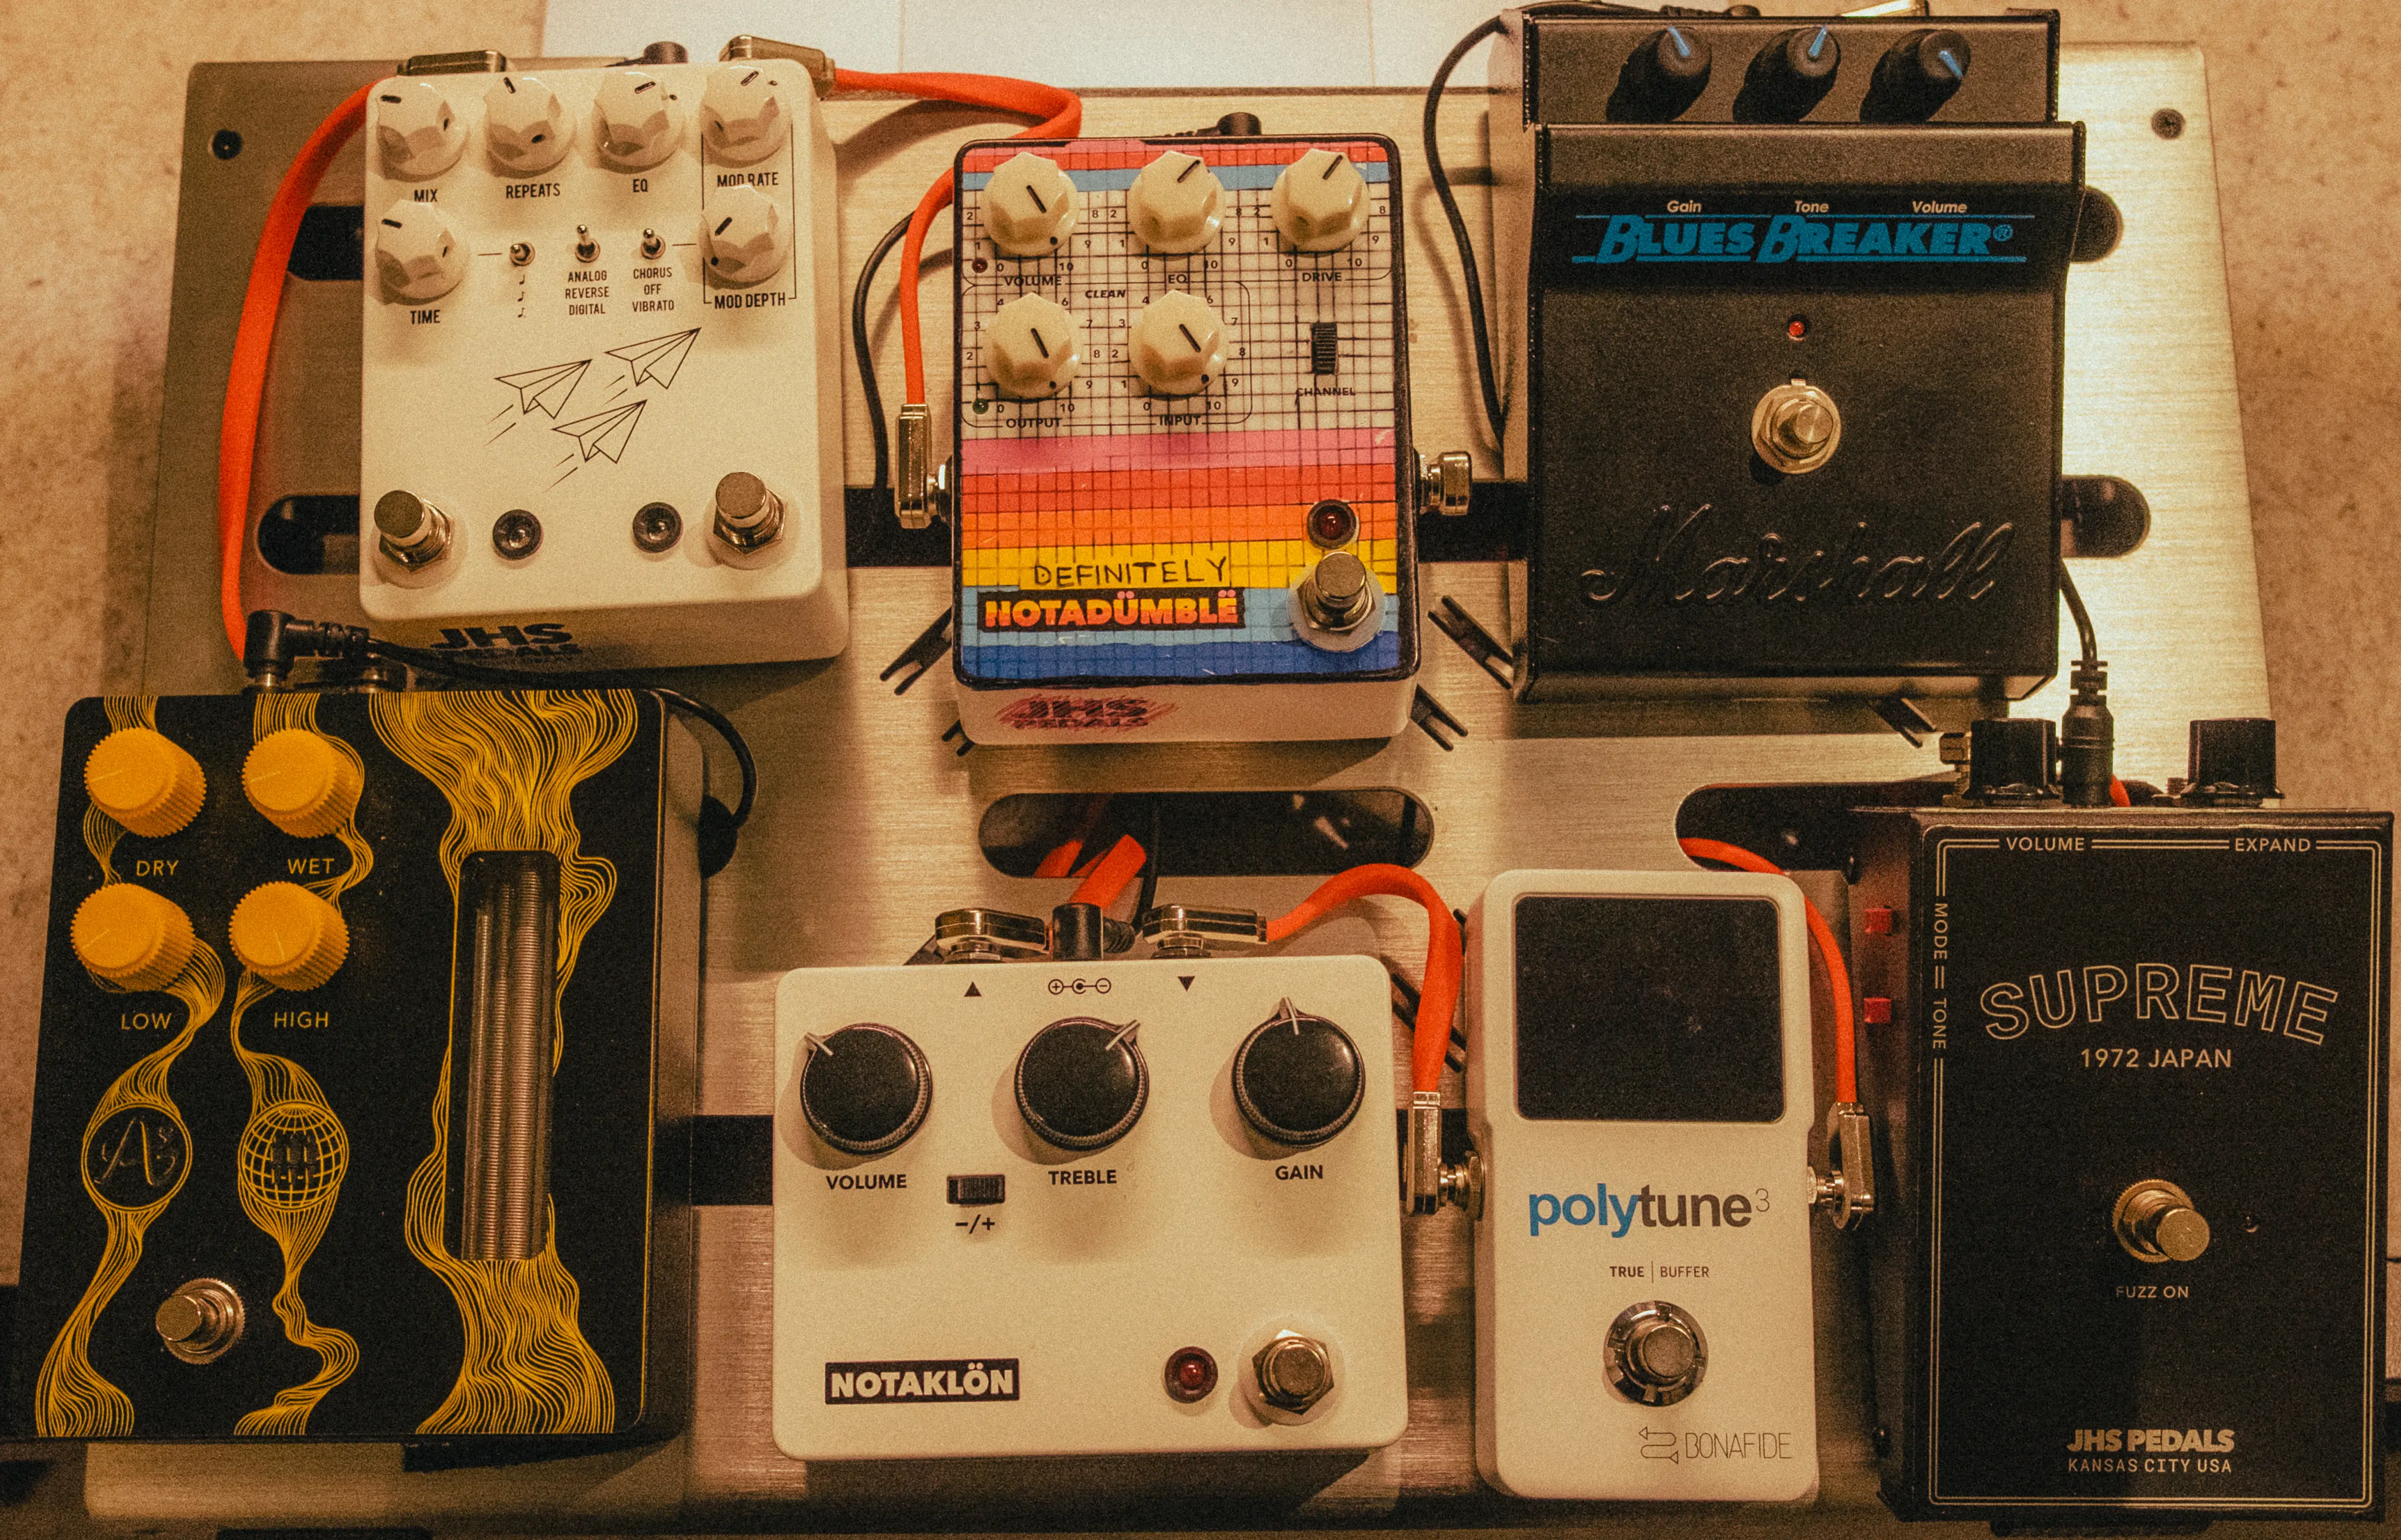
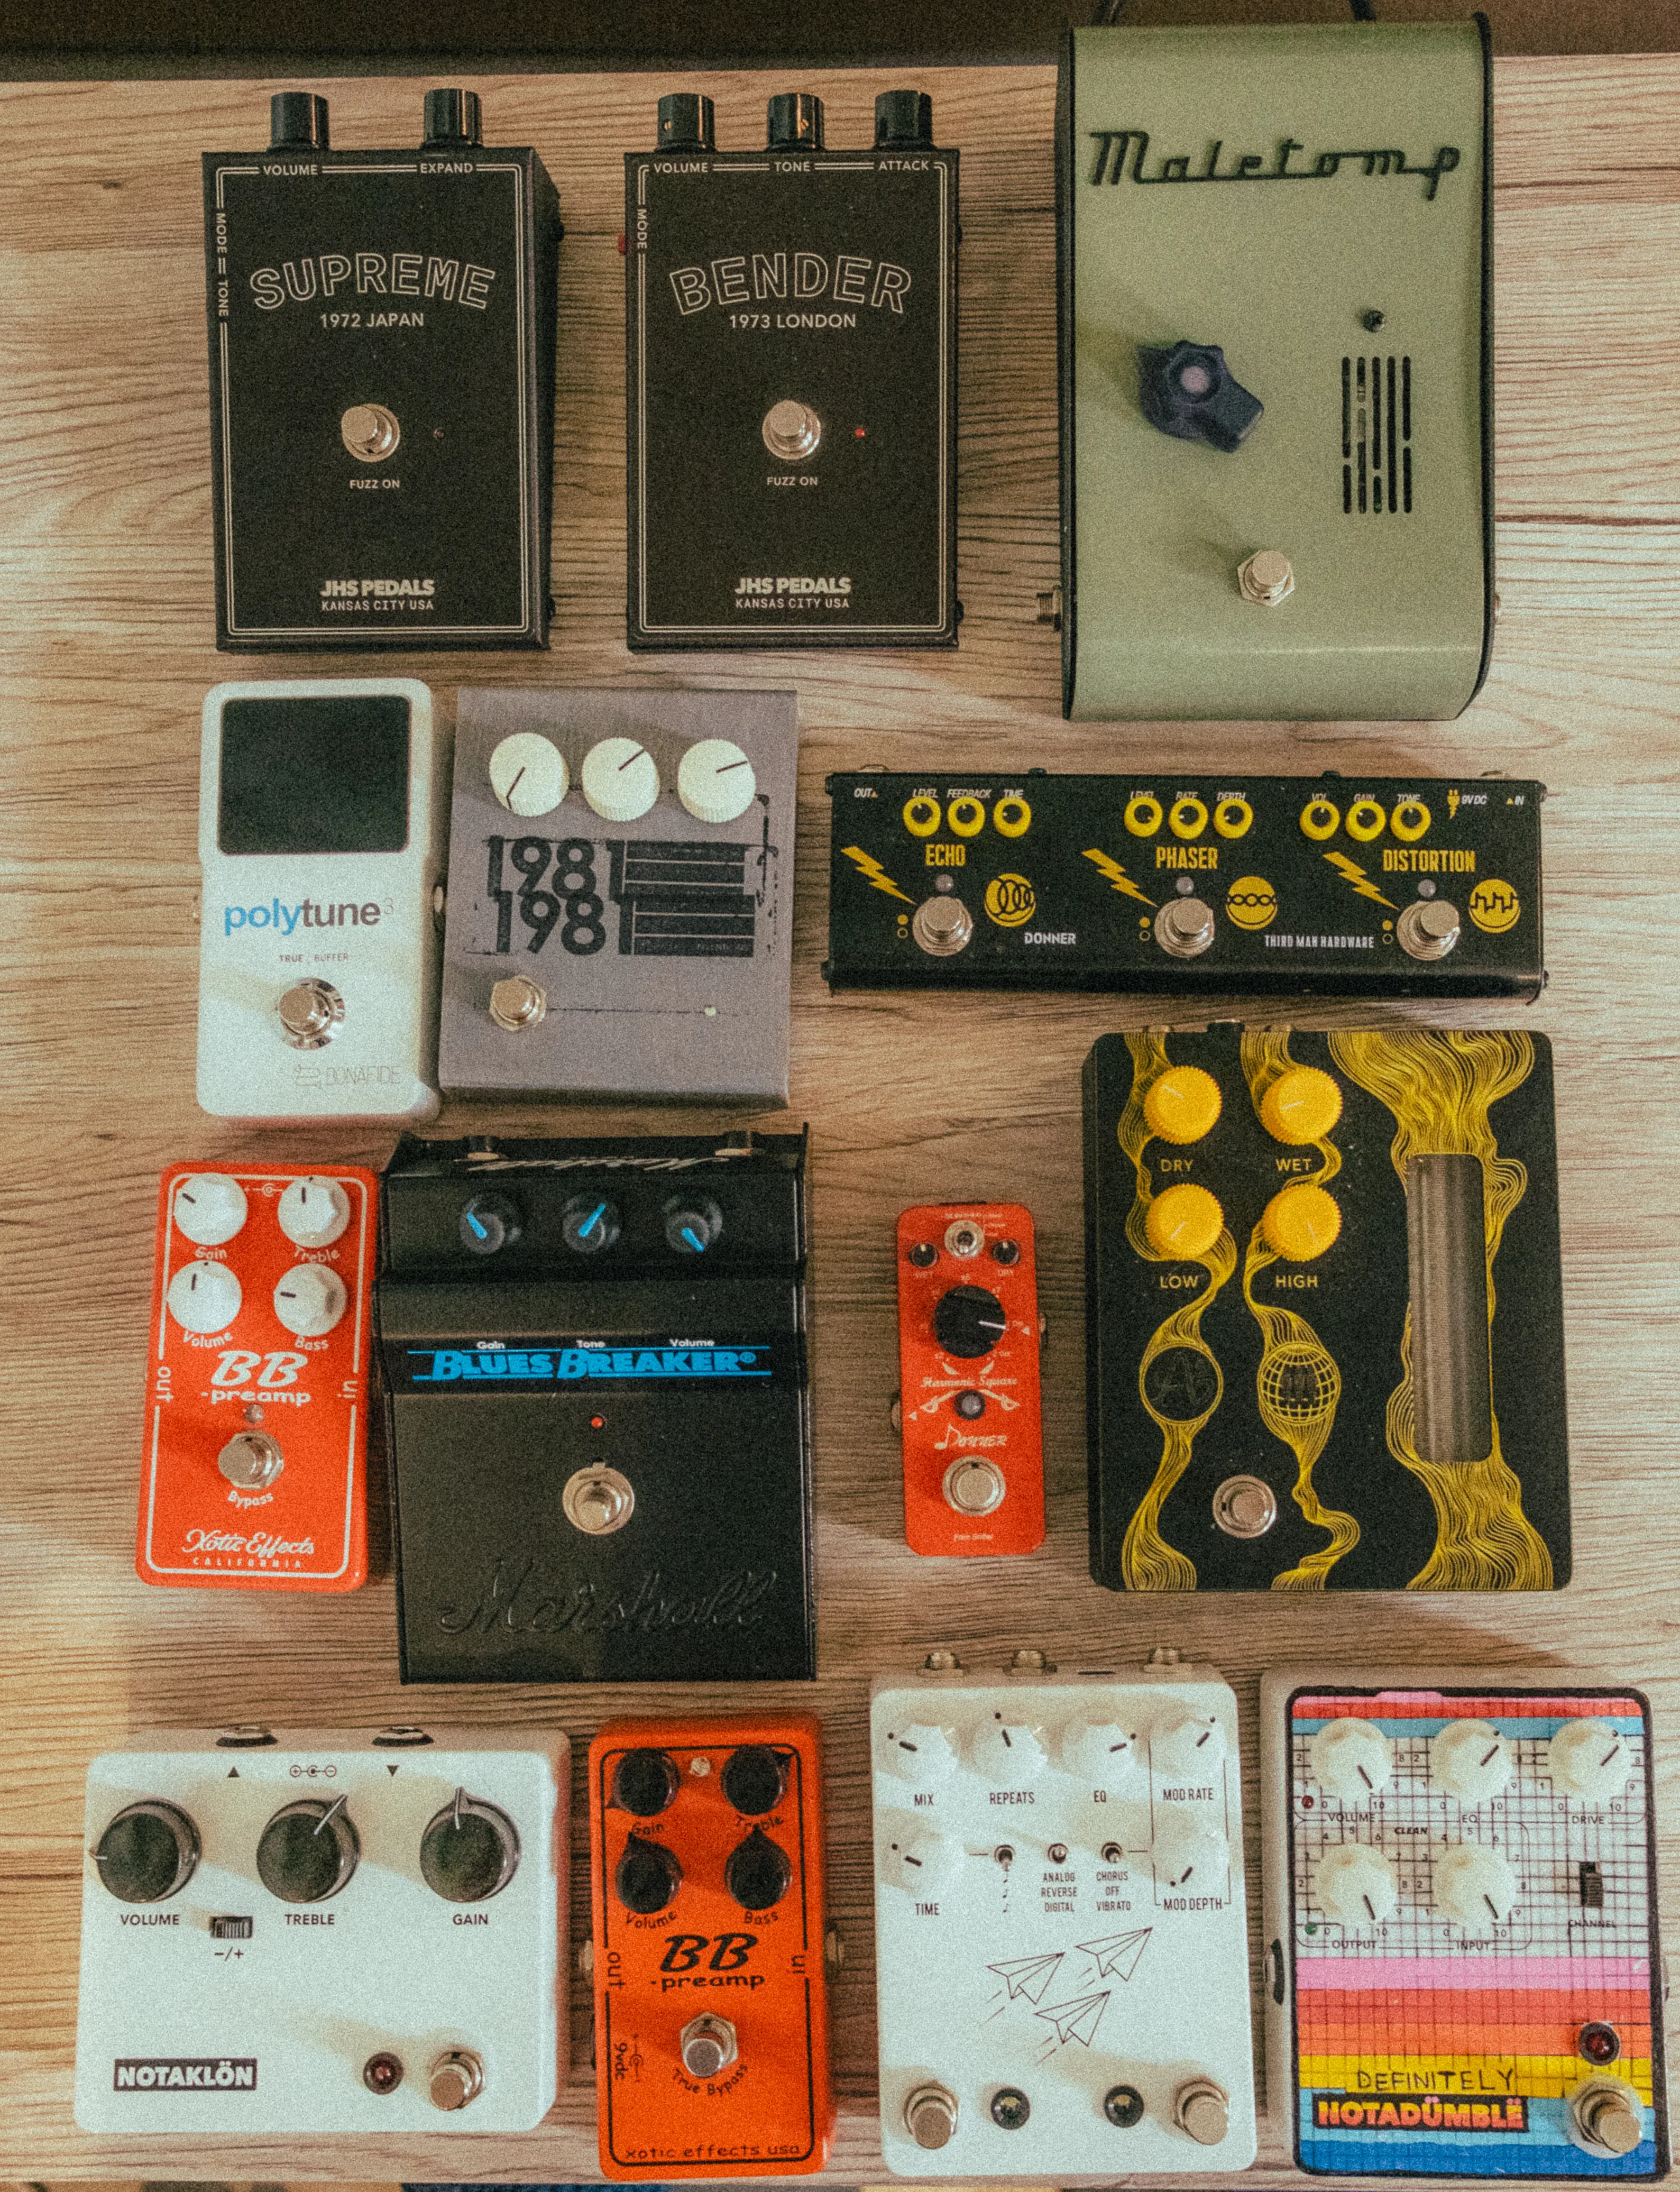
I started by selecting what I consider the essentials: fuzz, tuner, overdrive, delay, and reverb. The idea was to keep things simple and not get too deep into the technical side. So I looked at what I already had and decided to go with this setup.

JHS Supreme

JHS Supreme

I start my signal chain with my fuzz, the JHS Supreme from the Legends of Fuzz series. I really like the different tones you can get out of this pedal. It can go from that classic Led Zeppelin kind of fuzz to more aggressive sounds like The White Stripes. It’s a fun pedal and a great way to start shaping the tone.

Polytune 3

Tuner

After the fuzz, the signal goes into my tuner, a Polytune 3 (standard version). Nothing fancy here, but it does the job perfectly. I especially like the polyphonic tuning feature where you can strum all the strings at once, super quick and convenient.

Marshall Bluesbreaker

Marshall Bluesbreaker

I chose the Marshall Bluesbreaker as my first gain stage because it adds a subtle, transparent overdrive that works perfectly for blues. It doesn't color the tone too much, but gives just enough crunch to bring the amp to life.

JHS NotaKlon

NotaKlon

Next is the JHS NotaKlon. I wanted a bit more flexibility in the drive section, so having a Klon-style circuit made sense. It gives me that extra push when needed, especially for a slightly more saturated tone. I also really like how it sounds with humbuckers.

JHS NotaDumble

NotaDumble

Then we get to my “always on” pedal, JHS NotaDumble. I mainly use it on the clean channel as a boost. It might not be the most obvious choice for this purpose, but I just really like what it does to the signal. It adds a nice character and makes everything feel a bit more alive.

JHS Flight Delay

Flight Delay

Now getting towards the end of the chain, we have the JHS Flight Delay. To be honest, this one isn’t essential for what I play, but since I had some extra space on the board, I decided to include it. I mainly use it for a subtle slapback effect here and there.

Anasounds La Grotte X Third Man Hardware

La Grotte

Finally, we get to the reverb, the Anasounds La Grotte X Third Man Hardware. This thing is a beast. It has a really nice dark spring reverb character, and the three visible springs give it a very unique look. It can also act as a surprisingly powerful boost if you push the dry signal and lower the wet. Definitely one of the most interesting pedals on the board.

Final layout

Final Setup

And that’s it, the full setup. I think it looks clean and ready to go. I’ll probably change things around sooner or later, but for now I just want to enjoy it and see what kind of tones I can get out of it.

Final Thoughts

This first build taught about tone and how everything works together. It’s definitely not perfect, but it’s a great starting point, and most importantly, it’s fun to play.